The Importance of Maintaining Venetian Plaster
Venetian plaster is a luxurious and elegant finish that adds timeless beauty to any space. However, like any other surface, it requires regular maintenance and occasional repairs to preserve its aesthetic appeal and structural integrity. Proper maintenance not only keeps the plaster looking its best but also extends its lifespan, ensuring that it continues to enhance your home or business for years to come. Neglecting maintenance can lead to a range of issues that may compromise both the appearance and durability of the plaster.
Overview of Common Issues and the Need for Regular Maintenance and Repair
Maintaining Venetian plaster involves being vigilant about common issues such as cracks, chips, discolouration, and mould growth. These problems can arise due to various factors, including structural movement, physical impact, moisture exposure, and environmental conditions. Regular inspection and prompt repair of any damage are essential to prevent minor issues from becoming major problems. By addressing these issues early, you can maintain the pristine condition of the plaster and avoid costly repairs in the future.
Common issues that require attention include:
- Surface Cracks: Fine lines or larger cracks that can develop due to structural movement, drying shrinkage, or improper application.
- Chips and Dents: Small chips or dents caused by physical impact, such as moving furniture or accidental bumps.
- Discolouration: Fading, staining, or uneven colouration resulting from moisture exposure, sunlight, or improper sealing.
- Mould and Mildew: Black or green spots and musty odours caused by high humidity, poor ventilation, or water infiltration.
Regular maintenance and timely repairs not only preserve the beauty of Venetian plaster but also ensure its durability and longevity. This proactive approach helps maintain the value and appeal of your space, making it look fresh and inviting at all times.
Identifying Common Issues
Surface Cracks
Causes
Surface cracks in Venetian plaster can occur for several reasons, often related to the structural integrity of the building or the plaster itself.
- Structural Movement: Shifts in the building’s foundation or walls can cause stress on the plaster, leading to cracks.
- Drying Shrinkage: As the plaster dries, it can shrink slightly, resulting in fine cracks on the surface.
- Improper Application: Applying plaster too thickly or not allowing sufficient drying time between layers can cause cracking.
Signs
Surface cracks can vary in size and severity, from fine lines to larger, more noticeable cracks.
- Fine Lines: Small, hairline cracks that are often difficult to see but can expand over time.
- Larger Cracks: More significant cracks that may indicate deeper structural issues or improper application.
Chips and Dents
Causes
Chips and dents in Venetian plaster are usually the result of physical impact or accidental damage.
- Physical Impact: Moving furniture, bumping into walls, or other impacts can cause chips or dents in the plaster.
- Furniture Movement: Sliding furniture without protective pads can lead to surface damage.
- Accidental Damage: Everyday activities can sometimes result in unintended damage to the plaster surface.
Signs
Chips and dents are typically easy to spot and can detract from the overall appearance of the plaster.
- Small Chips: Minor damage that may not be immediately noticeable but can accumulate over time.
- Dents: Indentations in the plaster surface, often caused by blunt force.
Discolouration
Causes
Discolouration can occur due to various environmental factors and improper maintenance practices.
- Exposure to Moisture: High humidity or direct water contact can cause staining and discolouration.
- Sunlight: Prolonged exposure to sunlight can fade the colour of the plaster.
- Improper Sealing: Failure to properly seal the plaster can lead to uneven colouration and staining.
Signs
Discolouration can manifest in different ways, affecting the uniformity and visual appeal of the plaster.
- Fading: Loss of colour intensity, often due to sunlight exposure.
- Staining: Dark spots or streaks caused by moisture or other contaminants.
- Uneven Colouration: Patches of different shades indicating inconsistent application or sealing.
Mould and Mildew
Causes
Mould and mildew growth is a common issue in areas with high humidity or poor ventilation.
- High Humidity: Environments with high moisture levels are conducive to mold and mildew growth.
- Poor Ventilation: Lack of proper air circulation can trap moisture, leading to mold development.
- Water Infiltration: Leaks or water damage can create the perfect conditions for mold and mildew.
Signs
Mould and mildew can be harmful to both the plaster and the health of the occupants.
- Black or Green Spots: Visible mold or mildew growth on the plaster surface.
- Musty Odour: A characteristic smell indicating the presence of mold or mildew.
By regularly inspecting your Venetian plaster for these common issues, you can address problems early and maintain the beauty and integrity of the plaster. Prompt identification and repair of cracks, chips, discolouration, and mold can prevent further damage and prolong the life of your plaster finish.
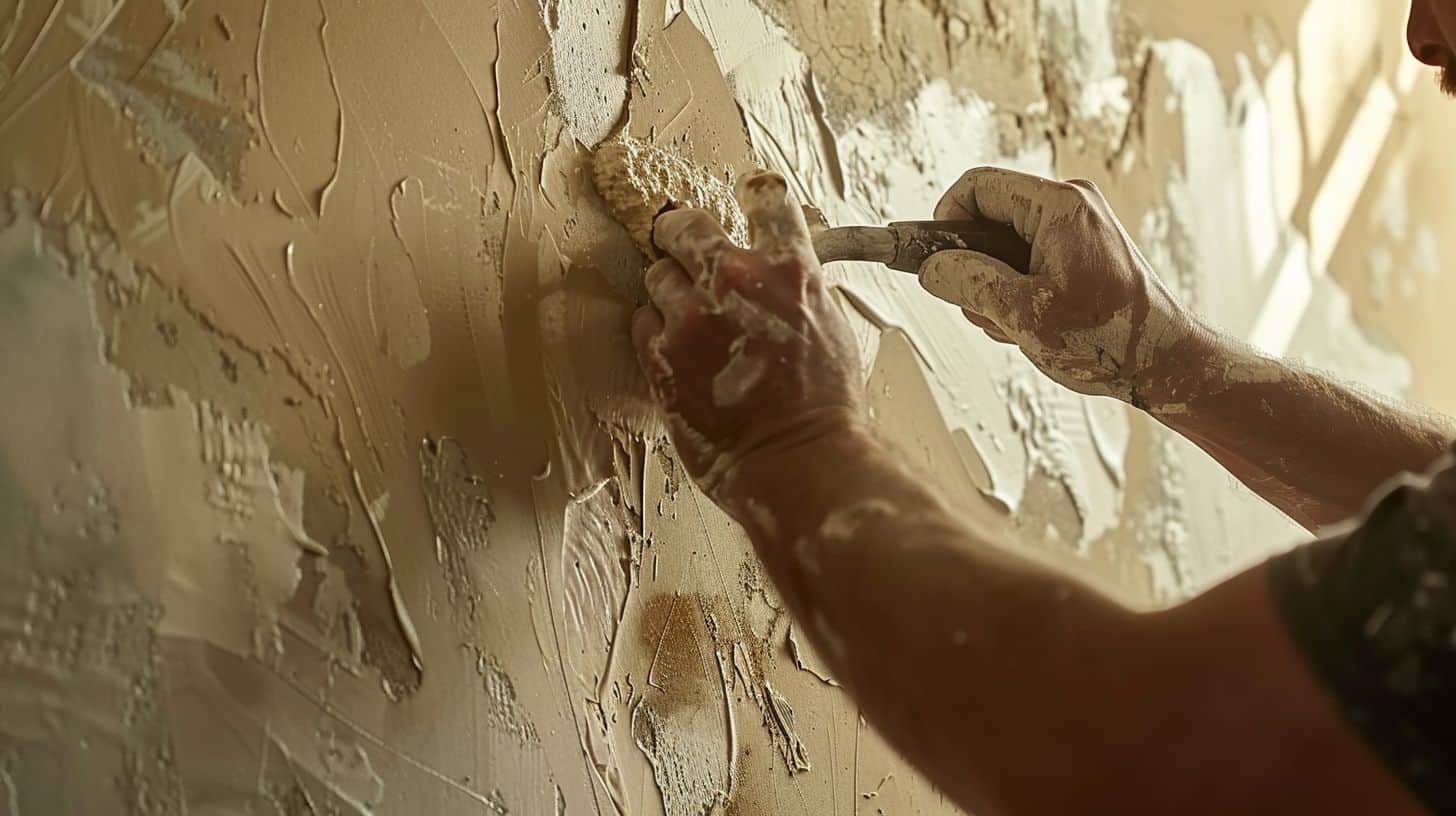
Repairing Cracks and Chips
Small Surface Cracks
Materials Needed
To repair small surface cracks in Venetian plaster, you will need the following materials:
- Fine-grit sandpaper
- Patching compound
- Small trowel or putty knife
Steps
- Clean the Area: Remove any dust and debris from the crack with a dry brush or a vacuum.
- Apply Patching Compound: Use a small trowel or putty knife to fill the crack with a suitable patching compound. Smooth it over the surface, ensuring the crack is fully covered.
- Smooth and Sand: Once the compound is dry, lightly sand the area with fine-grit sandpaper to ensure it blends seamlessly with the surrounding plaster.
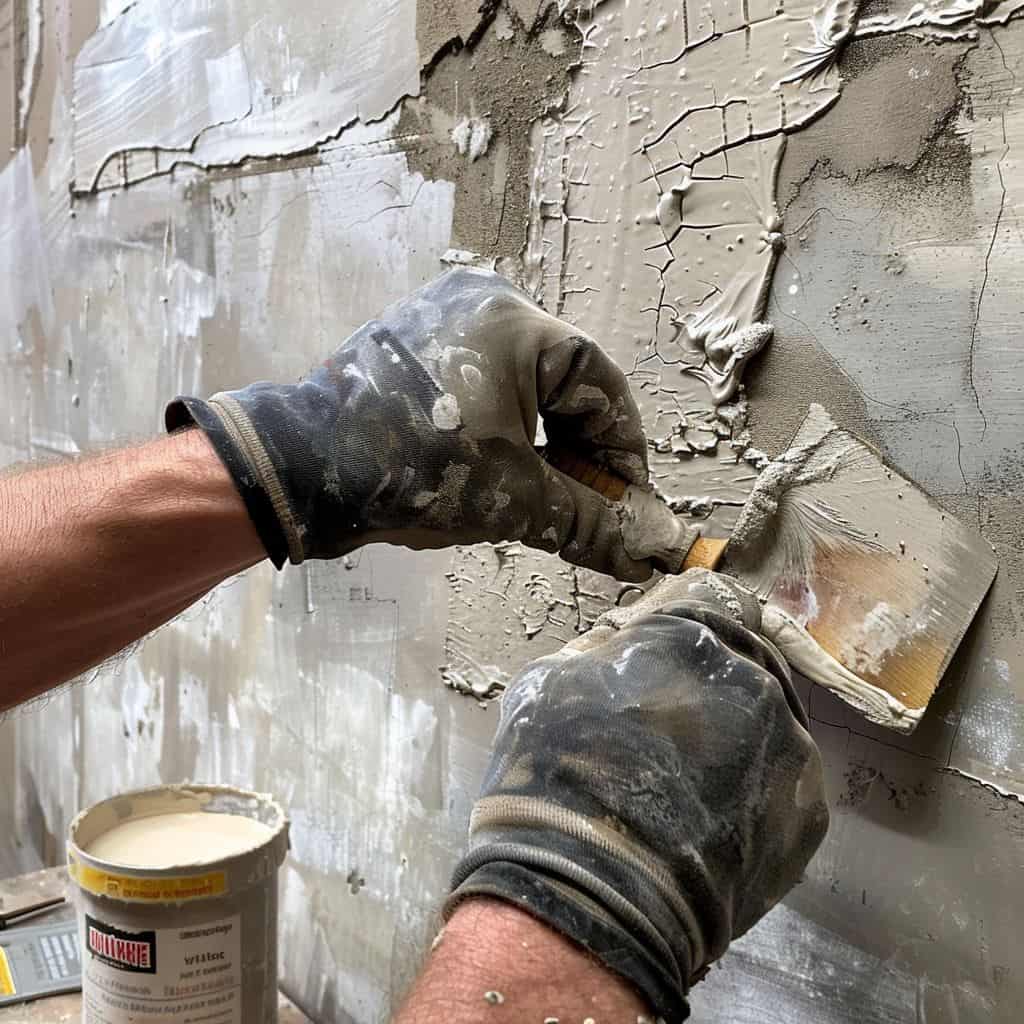
Larger Cracks and Structural Issues
Materials Needed
For larger cracks and structural issues, gather these materials:
- Patching compound
- Reinforcing mesh
- Trowel
- Fine-grit sandpaper
Steps
- Prepare the Crack: Clean and widen the crack slightly to ensure proper adhesion. Remove any loose material and dust.
- Apply Reinforcing Mesh: Place a strip of reinforcing mesh over the crack to provide added strength.
- Fill and Smooth: Apply the patching compound over the mesh, smoothing it with a trowel. Ensure the compound extends slightly beyond the edges of the crack.
- Sand Smooth: Once the compound is dry, sand the area lightly with fine-grit sandpaper to create a smooth, even surface.
Chips and Dents
Materials Needed
To repair chips and dents, you will need:
- Patching compound
- Small trowel or putty knife
- Fine-grit sandpaper
Steps
- Clean the Area: Remove any loose plaster and debris from the chip or dent.
- Apply Patching Compound: Use a small trowel or putty knife to fill the chip or dent with the patching compound. Smooth it over, ensuring it blends with the surrounding surface.
- Smooth and Sand: Once the compound is dry, lightly sand the area with fine-grit sandpaper to ensure a seamless finish.
Discolouration and Stains
Materials Needed
For addressing discolouration and stains, gather:
- Mild detergent
- Water
- Soft cloth
- Matching pigment or paint
Steps
- Clean the Area: Gently clean the stained area with a solution of mild detergent and water. Use a soft cloth to avoid damaging the plaster.
- Recolour or Repaint: If the stain remains after cleaning, apply a matching pigment or paint to restore the original colour. Use a small brush to blend the colour seamlessly with the surrounding area.
Mould and Mildew Removal
Materials Needed
To remove mould and mildew, you will need:
- Mould remover
- Water
- Scrub brush
- Protective gear (gloves, mask)
Steps
- Apply Mould Remover: Spray mould remover on the affected area, following the product instructions.
- Scrub Gently: Use a scrub brush to remove the mould and mildew from the surface. Be gentle to avoid damaging the plaster.
- Rinse and Dry: Rinse the area with clean water and allow it to dry completely. Ensure good ventilation to prevent further mould growth.
By following these repair techniques, you can effectively address and fix common issues with Venetian plaster, maintaining its beauty and functionality. Prompt and proper repairs will help preserve the plaster’s appearance and extend its lifespan.
Maintenance Tips
Regular Cleaning
Tools Needed
To keep Venetian plaster looking its best, regular cleaning is essential. You will need:
- Soft cloth
- Mild detergent
- Water
Steps
- Dusting: Regularly dust the surface with a soft cloth to remove loose particles and prevent build-up.
- Spot Cleaning: For any spots or marks, use a mild detergent solution. Dampen a soft cloth with the solution and gently wipe the affected area.
- Avoid Harsh Chemicals: Do not use harsh chemicals or abrasive cleaners that can damage the plaster surface.
Protecting Against Damage
Tips
Protecting Venetian plaster from damage helps maintain its pristine condition.
- Furniture Pads: Use pads under furniture legs to prevent dents and scratches when moving furniture.
- Avoid Impact: Be mindful of activities that can cause physical impact to the plaster, such as hanging heavy objects without proper support.
- Gentle Handling: Handle the walls with care, avoiding sharp objects that could chip or scratch the surface.
Reapplying Sealers
Frequency
Depending on the type of sealer used, reapply every few years to maintain the protective barrier and enhance the plaster’s durability.
Steps
- Clean the Surface: Ensure the plaster is clean and dry before reapplying the sealer. Use a mild detergent solution and a soft cloth to clean the surface.
- Apply Evenly: Use a brush, roller, or sprayer to apply the sealer evenly across the surface. Follow the manufacturer’s instructions for drying times and application techniques.
- Regular Checks: Inspect the sealer regularly for signs of wear and reapply as necessary to maintain protection.
Monitoring for Issues
Routine Checks
Regularly inspect the plaster for any signs of damage or discolouration.
- Visual Inspection: Look for cracks, chips, stains, or any other irregularities.
- Early Intervention: Address any issues promptly to prevent further damage and maintain the plaster’s appearance.
Early Intervention
Benefits
Promptly addressing minor issues prevents them from becoming major problems.
- Prevent Further Damage: Early repairs can stop minor issues from worsening.
- Maintain Appearance: Keeps the plaster looking its best by quickly resolving any imperfections.
By following these maintenance tips, you can keep your Venetian plaster looking beautiful and extend its lifespan. Regular cleaning, protection against damage, and prompt repairs ensure that the plaster remains a stunning feature in your home or business.
Conclusion
Recap of Key Repair and Maintenance Techniques for Venetian Plaster
Maintaining Venetian plaster involves regular inspection, prompt repairs, and careful cleaning to preserve its beauty and integrity. Identifying common issues such as surface cracks, chips, discolouration, and mold growth is the first step in effective maintenance. Each issue requires specific repair techniques:
- Surface Cracks: Clean and fill with patching compound, then sand smooth.
- Larger Cracks: Use reinforcing mesh for added strength, apply patching compound, and sand.
- Chips and Dents: Fill with patching compound and sand smooth.
- Discolouration: Clean with mild detergent and, if necessary, apply matching pigment or paint.
- Mould and Mildew: Use mould remover, scrub gently, and ensure proper drying.
Regular maintenance tips include dusting, spot cleaning, using protective measures like furniture pads, reapplying sealers periodically, and performing routine checks to catch issues early.
Importance of Regular Maintenance in Preserving the Beauty and Durability of Plaster Finishes
Regular maintenance is essential for keeping Venetian plaster looking its best and ensuring its long-term durability. By addressing issues promptly and following a consistent maintenance routine, you can prevent minor problems from escalating into major repairs. This proactive approach not only preserves the aesthetic appeal of the plaster but also extends its lifespan, making it a cost-effective investment for your home or business.
Final Thoughts on the Benefits of Professional Repair and Maintenance Services
While some maintenance tasks can be handled on your own, enlisting the help of professional repair and maintenance services ensures that Venetian plaster is cared for with the highest level of expertise. Professionals can accurately diagnose and repair issues, apply sealers correctly, and provide valuable advice on maintaining the plaster. Trusting professionals with the care of your Venetian plaster guarantees that it remains a beautiful and enduring feature of your space.
Professional Repair and Maintenance Services by Venetian Plasterer in Sydney
At Venetian Plasterer, we offer expert repair and maintenance services to keep your Venetian plaster in pristine condition. Serving Sydney and surrounding areas, our skilled team is equipped to handle all aspects of plaster care, from identifying and repairing damage to providing routine maintenance. Trust Venetian Plasterer to preserve the elegance and durability of your Venetian plaster, ensuring it continues to enhance your space for years to come.
Related