The Importance of Layering in Venetian Plaster
Layering is a crucial aspect of the Venetian plaster application process. Each layer contributes to the depth, texture, and overall aesthetic of the finish. Proper layering techniques not only enhance the visual appeal of the plaster but also ensure its durability and longevity. By meticulously applying each layer, you can achieve a smooth, luxurious finish that captures the timeless beauty of Venetian plaster.
How Proper Layering Techniques Contribute to a Smooth, Durable Finish
The process of applying Venetian plaster involves building up multiple thin layers, each one adding to the final look and feel of the surface. This multi-layer approach allows for greater control over the texture and sheen of the plaster. It also helps to create a more robust and resilient finish that can withstand the test of time. In Sydney, where environmental conditions can vary, proper layering techniques are essential to ensure the plaster remains stable and beautiful.
First Layer Application
Preparing the Surface
Ensuring the Base Coat is Dry and Smooth
Before applying the first layer of Venetian plaster, it’s essential to make sure the base coat is fully dry and smooth. Any imperfections in the base coat can affect the finish of the plaster. Inspect the surface for any dust, debris, or rough spots, and sand lightly if necessary to create a uniform surface.
Tools and Materials Needed for the First Layer
- Venetian plaster mix: Pre-mixed or prepared according to the manufacturer’s instructions.
- Stainless steel trowel: For applying and smoothing the plaster.
- Mixing bucket and stirrer: To ensure the plaster is evenly mixed.
- Drop cloths or protective coverings: To protect the surrounding area from splatters.
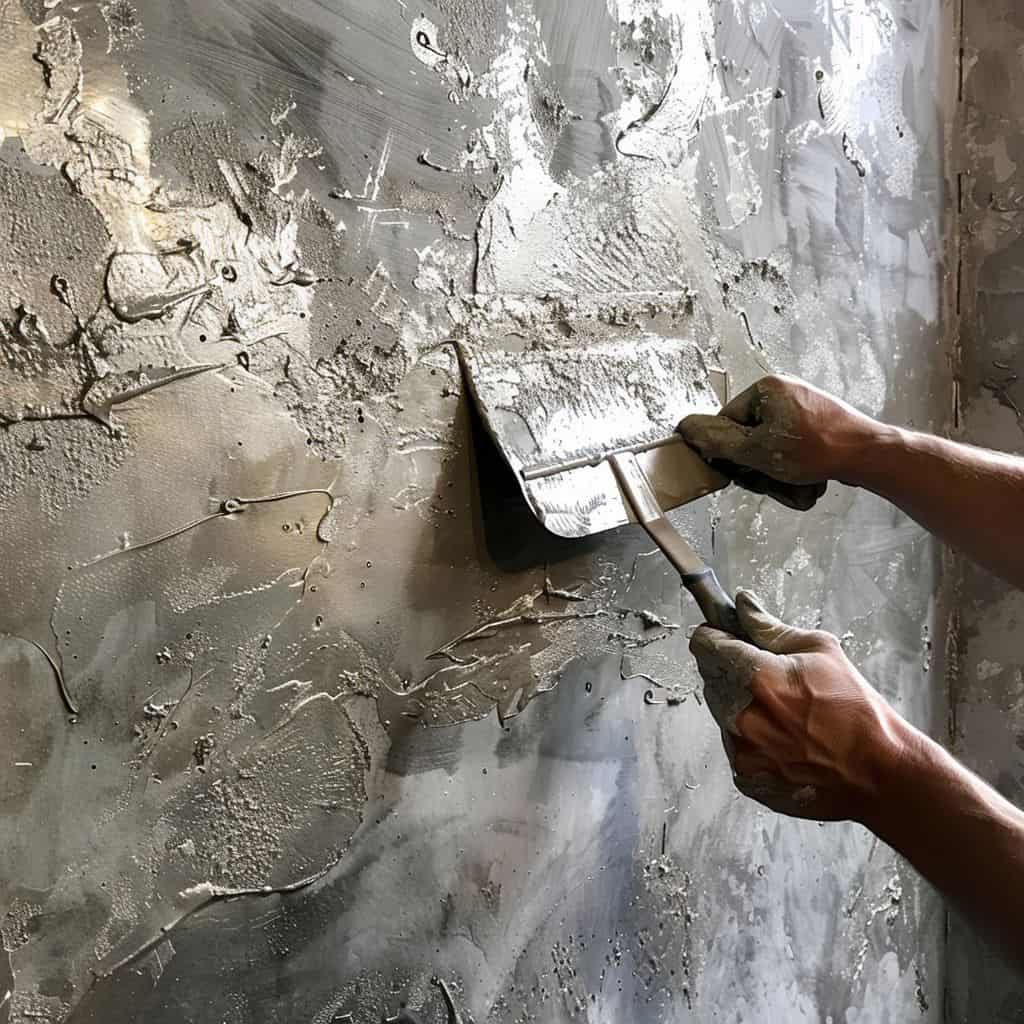
Application Techniques
Mixing the Plaster to the Right Consistency
- Read the Instructions: Follow the manufacturer’s guidelines for mixing the plaster.
- Stir Thoroughly: Use a mechanical mixer or stir stick to blend the plaster until it reaches a smooth, workable consistency. The plaster should be free of lumps and easy to spread.
Applying the First Layer Evenly
- Load the Trowel: Scoop a small amount of plaster onto the edge of the trowel.
- Start at the Top: Begin applying the plaster at the top of the wall, using broad, even strokes.
- Work in Sections: Divide the wall into manageable sections to maintain control over the application.
- Smooth as You Go: As you apply the plaster, use the flat edge of the trowel to smooth out any ridges or bumps, ensuring an even layer across the surface.
Tips for Covering Edges and Corners
- Use Smaller Trowels: For precision work around edges and corners, switch to a smaller trowel or spatula.
- Feather the Edges: Lightly feather the edges of the plaster to blend seamlessly with the adjacent sections, preventing visible lines or transitions.
- Check for Consistency: Regularly check the thickness and smoothness of the plaster, adjusting your technique as needed to maintain a uniform finish.
Drying Time Considerations
Typical Drying Times for the First Layer
- Initial Drying: The first layer of Venetian plaster typically dries to the touch within 4-6 hours, depending on environmental conditions.
- Full Drying: Allow 24-48 hours for the plaster to dry completely before applying additional layers.
Environmental Factors Affecting Drying
- Humidity: High humidity levels can slow down the drying process. Use a dehumidifier if necessary to speed up drying.
- Temperature: Ideal drying conditions are between 18-24°C (64-75°F). Extreme temperatures can affect the drying time and the final finish.
By following these steps and considerations, you can ensure a successful application of the first layer of Venetian plaster, setting the foundation for a beautiful, durable finish.
Second Layer Application
Importance of the Second Layer
Enhancing the Depth and Richness of the Plaster
The second layer of Venetian plaster is crucial for building depth and richness in the finish. This layer enhances the color intensity and adds complexity to the texture, giving the plaster its characteristic luxurious appearance. It also helps to conceal any imperfections from the first layer, resulting in a more polished look.
Creating a Strong Foundation for the Final Layer
Applying a second layer strengthens the overall structure of the plaster, providing a solid foundation for the final layer. This intermediate layer ensures that the surface is smooth and even, ready to receive the final application. It also helps to achieve a more durable finish that can withstand wear and tear.
Application Techniques
Preparing the Surface After the First Layer is Dry
- Inspect the Surface: Check for any imperfections, such as ridges or bumps, and sand lightly if needed to create a smooth surface.
- Clean the Surface: Remove any dust or debris from sanding to ensure the second layer adheres properly.
Applying the Second Layer with Consistent Pressure
- Mix the Plaster: Stir the Venetian plaster mix to ensure an even consistency, similar to the first layer.
- Load the Trowel: Scoop a small amount of plaster onto the edge of the trowel.
- Start at the Top: Begin applying the plaster at the top of the wall, using broad, even strokes.
- Maintain Consistent Pressure: Apply consistent pressure to the trowel to achieve a uniform thickness across the surface.
- Work in Sections: Divide the wall into manageable sections to maintain control over the application.
- Smooth as You Go: Use the flat edge of the trowel to smooth out any ridges or bumps, ensuring an even layer.
Techniques for Achieving Uniform Thickness
- Even Application: Apply the plaster evenly to avoid areas that are too thick or too thin.
- Feather the Edges: Lightly feather the edges of the plaster to blend seamlessly with adjacent sections.
- Check Consistency: Regularly check the thickness of the plaster to ensure uniformity.
Drying Time Considerations
Allowing Sufficient Drying Time Between Layers
- Initial Drying: The second layer typically dries to the touch within 4-6 hours, depending on environmental conditions.
- Full Drying: Allow 24-48 hours for the second layer to dry completely before applying the final layer.
Checking for Complete Dryness Before Proceeding
- Touch Test: Gently touch the surface to check if it is dry. If the plaster feels cool or damp, it needs more time to dry.
- Visual Inspection: Look for any dark or wet spots, indicating areas that are not fully dry.
By following these steps and considerations, you can ensure a successful application of the second layer of Venetian plaster, setting the stage for a flawless final layer.
Third Layer Application
Final Touches and Techniques
Importance of the Third Layer for Achieving Smoothness and Shine
The third layer is the final and most critical layer in the Venetian plaster application process. It’s where the smoothness and shine of the finish are perfected. This layer adds the final depth and richness to the plaster, ensuring that the surface is not only beautiful but also durable. The third layer is where the craftsmanship really shows, making the plaster look seamless and luxurious.
Tools and Materials Needed for the Final Application
- Venetian plaster mix: Prepared according to the manufacturer’s instructions.
- Stainless steel trowel: For applying and smoothing the plaster.
- Polishing trowel: For achieving a high-gloss finish.
- Drop cloths or protective coverings: To protect the surrounding area.
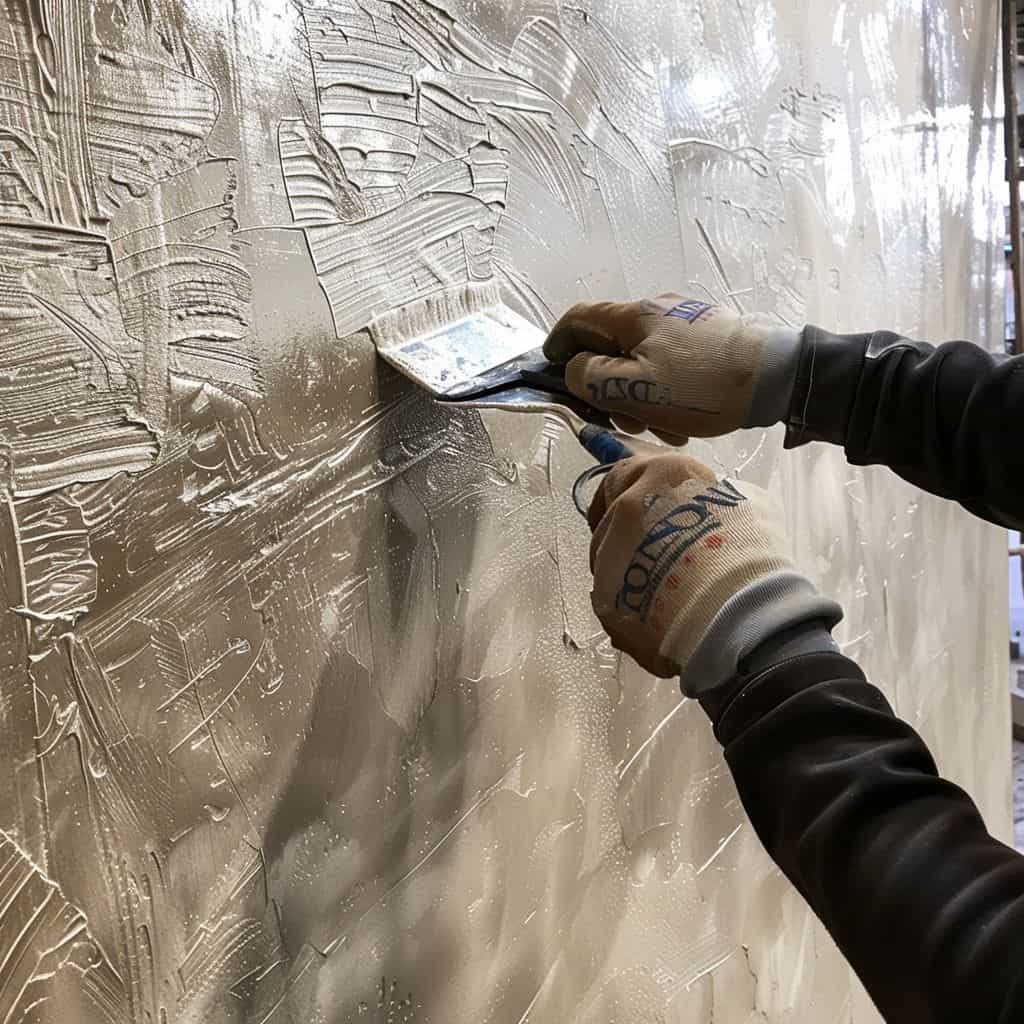
Application Techniques
Applying the Third Layer with a Focus on Smoothness
- Mix the Plaster: Ensure the Venetian plaster mix is smooth and free of lumps.
- Load the Trowel: Scoop a small amount of plaster onto the edge of the trowel.
- Start at the Top: Begin applying the plaster at the top of the wall, using long, smooth strokes.
- Work in Sections: Divide the wall into manageable sections to maintain control over the application.
- Maintain Consistent Pressure: Apply consistent pressure to the trowel to achieve an even, thin layer.
- Smooth as You Go: Use the flat edge of the trowel to smooth out any ridges or bumps, ensuring a perfectly even layer.
Burnishing Techniques to Enhance the Finish
- Initial Burnishing: Once the plaster starts to set but is still damp, use a clean trowel to gently burnish the surface. This involves applying light pressure in a circular or overlapping motion to bring out the shine.
- Final Burnishing: After the plaster has dried completely, a final burnishing can be done to enhance the gloss further. Use a polishing trowel and apply firmer pressure to achieve a high-gloss finish.
Tips for Avoiding Common Mistakes
- Avoid Overworking: Do not overwork the plaster as it starts to set, which can lead to streaks or uneven areas.
- Keep Tools Clean: Regularly clean the trowel to prevent dried plaster from scratching the surface.
- Consistent Pressure: Maintain consistent pressure and smooth strokes to avoid uneven application.
Drying and Curing
Recommended Drying Times for the Final Layer
- Initial Drying: The third layer typically dries to the touch within 6-8 hours, depending on environmental conditions.
- Full Curing: Allow at least 48-72 hours for the plaster to cure completely, ensuring maximum durability and a flawless finish.
Environmental Conditions for Optimal Curing
- Temperature: Maintain a stable temperature between 18-24°C (64-75°F) for optimal curing.
- Humidity: Keep the humidity levels between 40-60% to prevent the plaster from drying too quickly or too slowly.
- Ventilation: Ensure good airflow in the area to aid in the drying and curing process.
By following these steps and techniques, you can achieve a smooth, high-gloss finish with your third layer of Venetian plaster, ensuring that the final result is both beautiful and durable.
Achieving Smoothness
Tools and Techniques for a Smooth Finish
Types of Trowels and Their Uses
- Stainless Steel Trowel: Essential for applying and smoothing the Venetian plaster layers. Its flat, smooth surface helps in creating an even finish without leaving marks.
- Polishing Trowel: Used for the final burnishing step to achieve a high-gloss finish. Its rounded edges prevent scratching and help in buffing the surface to a shine.
Polishing Tools and Methods
- Polishing Trowel: After the plaster has dried, use a polishing trowel to gently buff the surface. Apply even, consistent pressure in overlapping circular motions to bring out the natural luster of the plaster.
- Soft Cloth or Sponge: For a final touch, use a soft cloth or sponge to gently polish the surface, enhancing the smoothness and shine without adding any scratches.
Step-by-Step Guide to Achieving a High-Gloss Finish
- Initial Application: Apply the plaster with smooth, even strokes, ensuring no ridges or bumps.
- First Burnishing: As the plaster begins to set but is still damp, use a clean trowel to lightly burnish the surface in circular or overlapping motions.
- Drying: Allow the plaster to dry completely, which may take 48-72 hours.
- Final Burnishing: Once fully dry, use a polishing trowel to apply firmer pressure and achieve a high-gloss finish. Buff the surface until it reaches the desired level of shine.
- Final Polish: Use a soft cloth or sponge for a final polish, enhancing the smoothness and shine.
Common Issues and Solutions
Identifying and Fixing Imperfections
- Bumps or Ridges: Lightly sand the area with fine-grit sandpaper, then reapply a thin layer of plaster and smooth it out.
- Streaks: Ensure consistent pressure and smooth strokes during application. If streaks appear, lightly sand the surface and reapply a thin layer.
- Scratches: Use a polishing trowel to gently buff out minor scratches. For deeper scratches, reapply a thin layer of plaster and smooth it out.
Tips for Maintaining a Smooth Surface During Application
- Clean Tools Regularly: Keep your trowel clean to avoid transferring dried plaster onto the surface.
- Consistent Technique: Use consistent pressure and smooth, overlapping strokes to maintain an even application.
- Monitor Drying Times: Allow each layer to dry fully before applying the next to prevent trapping moisture and causing imperfections.
Professional Tips for Best Results
Expert Advice on Layering Techniques
- Thin Layers: Apply thin, even layers to build up the finish gradually. This helps in achieving a smooth, uniform surface without cracks or bubbles.
- Feathering Edges: Feather the edges of each layer to blend seamlessly with adjacent sections, avoiding visible lines or transitions.
Insider Tips for a Flawless Finish
- Ambient Conditions: Control the ambient conditions in the workspace, such as temperature and humidity, to ensure optimal drying and curing.
- Quality Materials: Use high-quality plaster mixes and tools to achieve the best results.
- Practice and Patience: Take your time and practice the techniques to perfect your skills. Patience is key to achieving a professional finish.
Conclusion
Recap of Key Points on Layering and Achieving Smoothness
Layering is a vital part of the Venetian plaster application process. Each layer—from the first base to the final finishing coat—contributes to the depth, richness, and durability of the plaster. Proper techniques and meticulous application ensure that the surface is smooth and free from imperfections. By paying attention to drying times, environmental conditions, and using the right tools, you can achieve a stunning, high-gloss finish that highlights the beauty of Venetian plaster.
Summary of Techniques and Tips
- First Layer Application: Ensure the base coat is dry and smooth. Apply the first layer evenly with consistent pressure, focusing on smooth coverage.
- Second Layer Application: Enhance depth and richness by applying the second layer with careful attention to uniform thickness. Allow sufficient drying time between layers.
- Third Layer Application: Achieve final smoothness and shine by applying the third layer with precision. Use burnishing techniques to enhance the gloss and ensure a seamless finish.
- Achieving Smoothness: Utilise the right tools and techniques for a polished finish. Address common issues promptly and maintain consistent application practices.
Final Tips for a Professional-Looking Venetian Plaster Finish
- Thorough Preparation: Proper surface preparation is essential. Clean, patch, and prime the surface meticulously before starting the plaster application.
- Quality Materials and Tools: Invest in high-quality plaster mixes and tools to ensure the best results.
- Patience and Practice: Take your time with each layer, allowing adequate drying and curing times. Practice your techniques to achieve a flawless finish.
Venetian Plaster Layering Services by Venetian Plasterer in Sydney
At Venetian Plasterer, we specialise in applying Venetian plaster with expert layering techniques to achieve a smooth, luxurious finish. Providing professional Venetian plaster services in Sydney, our skilled artisans meticulously handle each step of the layering process. From the initial base layer to the final high-gloss finish, we ensure that every detail is perfect. Trust Venetian Plasterer for all your Venetian plaster needs in Sydney, and experience the difference that expert application and craftsmanship can make.
Related
Burnishing Techniques for Venetian Plaster: Timing, Tools, and Achieving a High Gloss Finish